
When you use WebDAV in a scanner app to upload files as member attachments in Cameo, you now select the member to attach to. This also includes gift aid declaration evidence and photo id attachments. Similarly, you now select the document number to attach to when uploading invoice, purchase order or quotation attachments.
Contents
Background
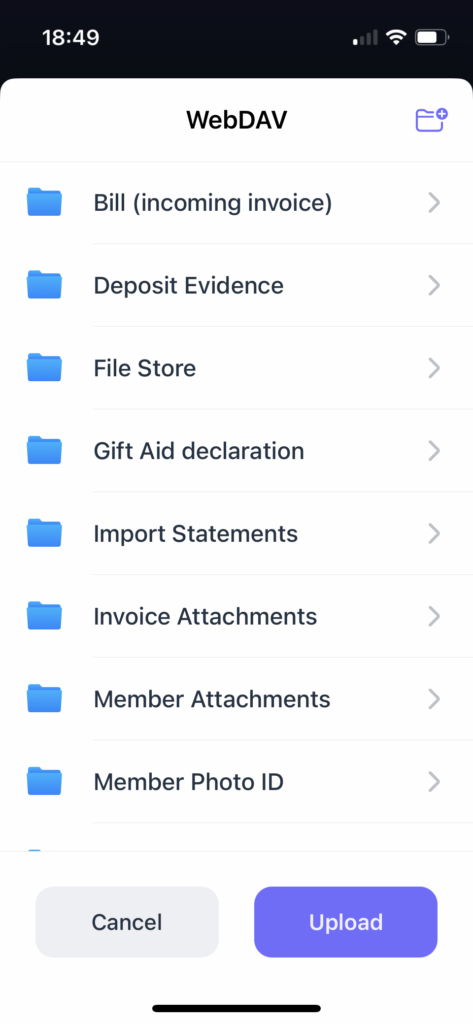
When uploading, the scanner app shows you the different kinds of attachments as folders. Previously, you would upload your file to the relevant folder. For those attachments which needed you to say what to attach to – which member for member attachments, for example – the membership number needed to be quoted as part of the file name.
However, it is not always convenient, easy, or indeed possible, to rename a file while scanning.
Member attachments
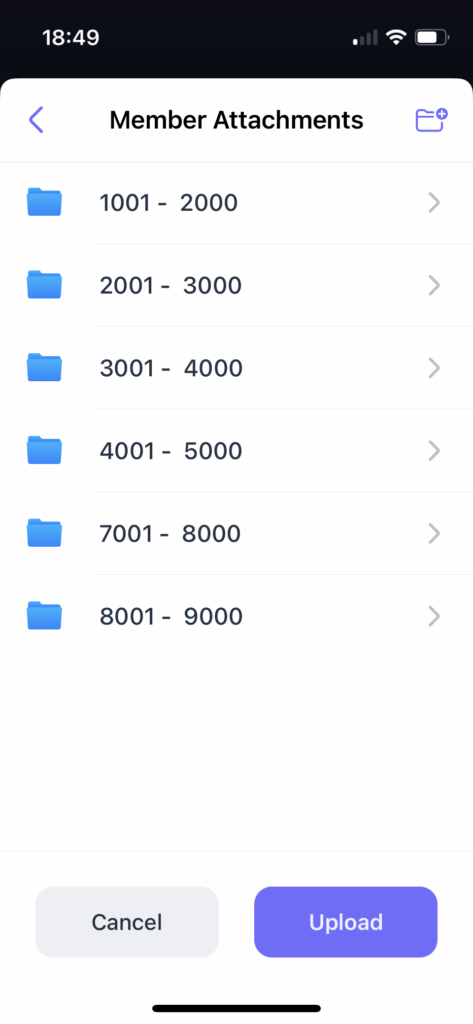
Now, when you select the folder for member attachments (or gift aid or photo id) to upload to, you’ll see some further folders: membership numbers grouped in 1000’s For example, 1001 – 2000, 2001 – 3000 and so on.
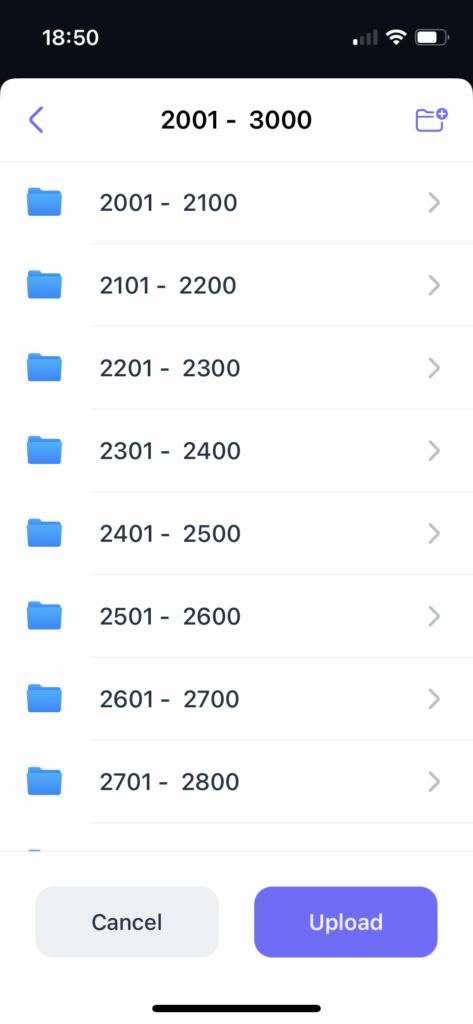
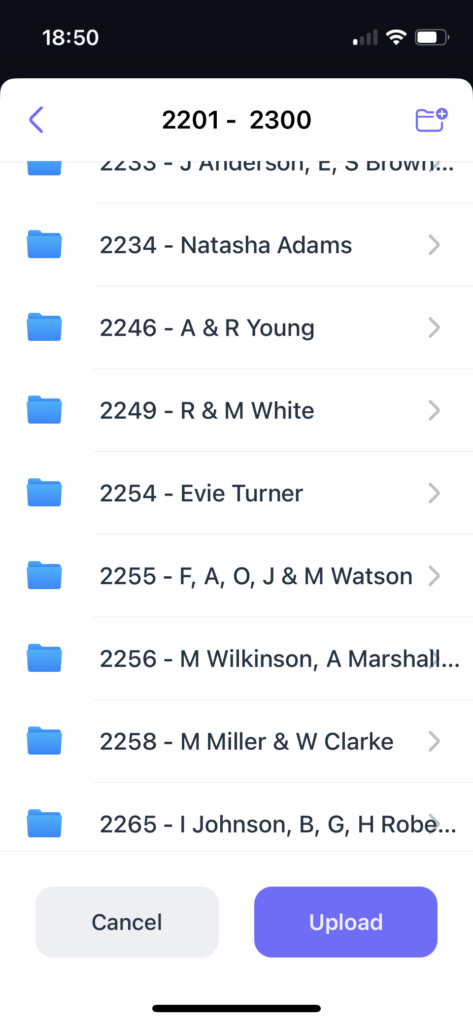
Say you want to attach to membership number 2249. You would open the folder 2001 - 3000. Then you are shown a list of folders grouped in 100’s: 2001 – 2100, 2101 – 2201, and so on. For 2249, you would choose 2201 - 2300.
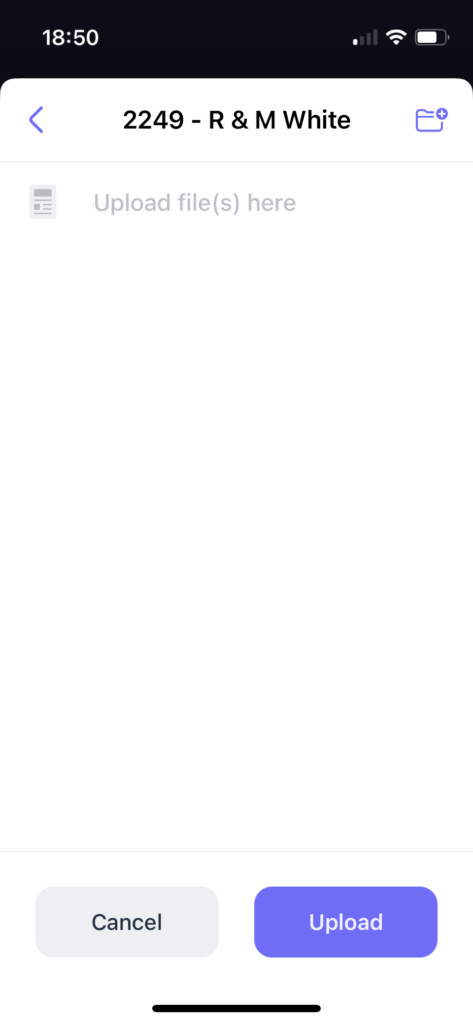
Then you are shown folders for each of the up to 100 specific memberships by number and name. Choose 2249 - R & M White in our example. Upload your file to that folder. It attaches to that membership.
Gift aid declarations and photo ids are similar. But when you get to the last set of folders you see a folder for each individual, not the whole membership record. By choosing the individual, you say who is making the declaration or who should get the photo id.
Invoice attachments
Adding an attachment to a trading document is quite similar: open the folder for the document you want to attach to and upload it there.
When you select a folder for one of the trading documents – invoice, purchase order and quotation – you now see a list of folders for the twenty or so most recent of the relevant type of document. Choose which to attach to. Upload to its folder.
Where the document you want is not among the first twenty, open the “Earlier invoices” (or whatever) folder to see the next most recent twenty, and so on.
Other attachments
Uploads for places that don’t need something specific to attach to, such as File Store or Statement Attachments are unchanged.
FE File Explorer Pro
We recommend Readdle’s Scanner Pro for scanning files from iOS.
However, Scanner Pro only allows you to set up one WebDav connection. If you need to upload to more than one place, it is not going to work satisfactorily.
Some other scanner apps (such as Adobe Scan) don’t offer WebDAV at all or require a subscription payment to unlock it.
A solution is to also install FE File Explorer Pro. This does allow more than one WebDav target. Where you only need one but your scanner app doesn’t offer WebDAV at all, the free FE File Explorer allows a single WebDav connection.
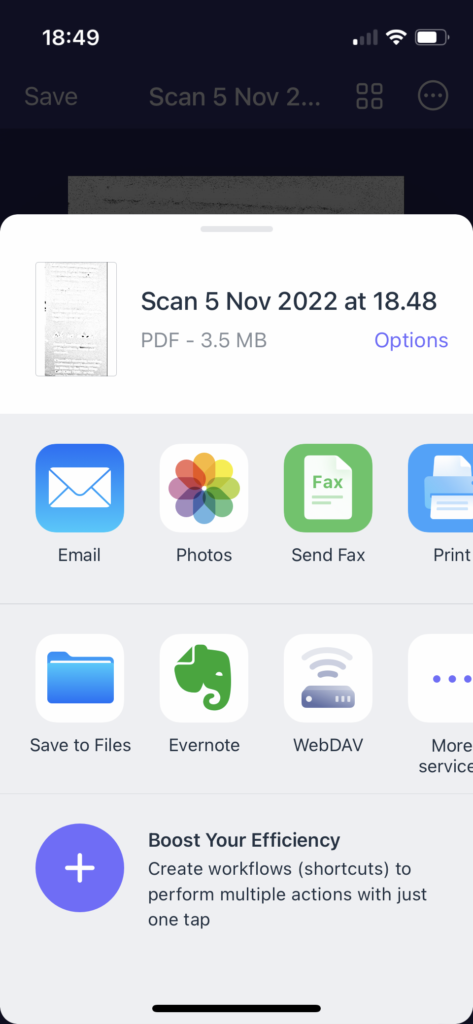
After you scan, share the scan as usual, but instead of selecting WebDav, choose FE File Explorer Pro (you may find it under More Apps) and/or scroll down to Save to FE File Explorer. This opens the folders to navigate in exactly the same way as WebDAV in Scanner Pro (or whatever).