You can now attach files to notifications.
Additional custom fields on forms that use them all now offer file uploads. This includes the contactus form, which posts its result as a notification with an attachment.
Contents
Background
The contactus form provides a general way for someone to get in touch with you through your website. This simple form just posts a notification message. (You could also use the questions form, but that would create new contacts for the respondents and requires more setting up).
You can ask for additional information on the contactus form by adding custom fields (also used on the questions and bookings forms). This means you can structure the information requested, rather than offering just a single big text field. The resulting notification just lists answers to custom fields in the text.
Custom fields now also now include a question type for which the answer is an uploaded file. These attach the file to the notification.
You can also add attachments to notifications when you create one manually within Cameo, in library → add reminder.
Asking for an upload
Add a custom field to the contactus form in the usual way:
- Open custom fields (
 – Fig 1)
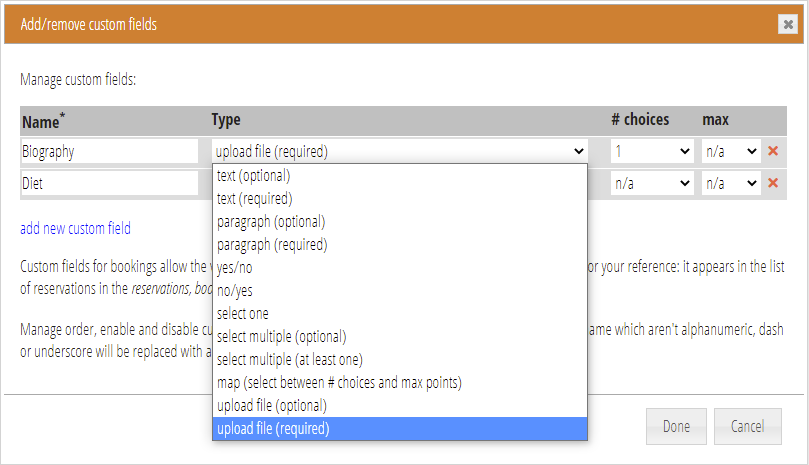
 - Give the question a name (e.g. Biography)
- Choose its type. For a file upload, choose upload file (either optional or required)
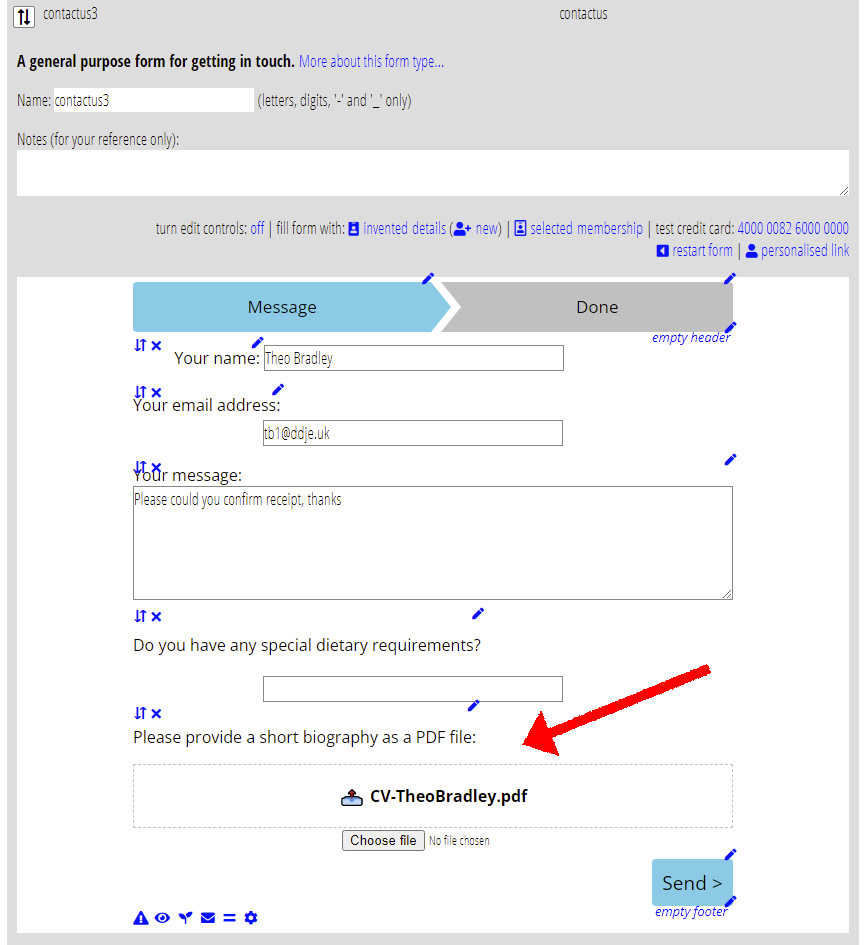
The form then includes an upload box where they can drop or select a file, with editable captions and position within the form. The form shows the name of the file in the upload box when they do that (Fig 2). The upload actually happens when they move the the next step. Because this can take some time, a progress bar tracks progress.
Adding an attachment to a reminder notification
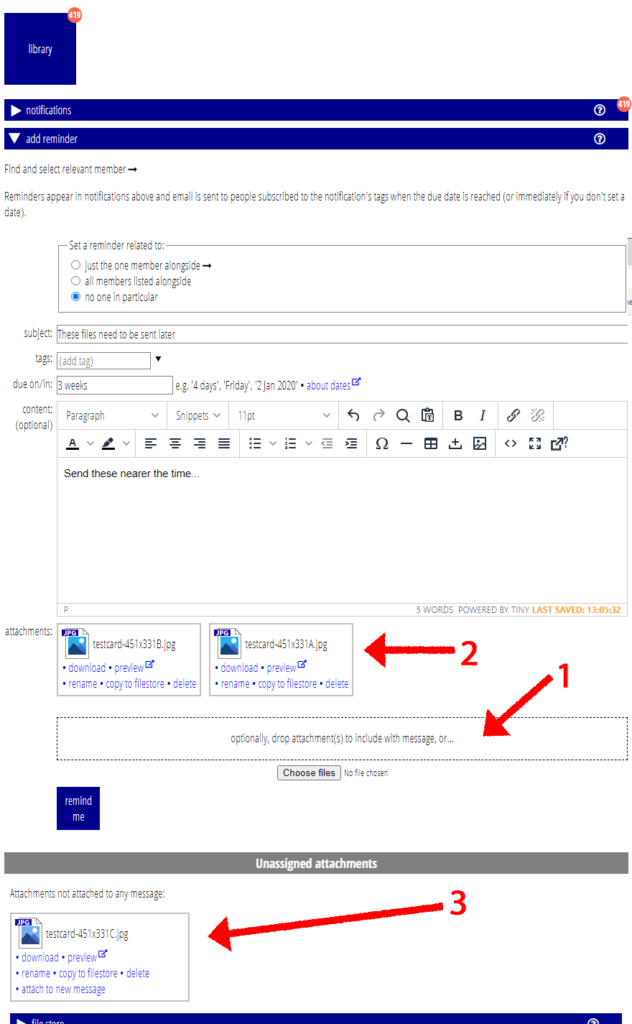
Add a reminder, in library → add reminder, now has an area where you can drop files as attachments to the reminder you are adding (Fig 3: 1). Cameo shows attachments to include between the message content and the file drop area (Fig 3: 2).
Occasionally, you can end up with orphan files. Cameo uploads and stores attachments when you add the files. If you then go elsewhere or close the window without actually adding a reminder, the files remain, but unattached to any notification. Therefore, we show any unattached files at the end of the section (Fig 3: 3). You can click attach to new message to add one of these orphans to a new message (it moves up to the attachments area of the message).
Viewing and editing notification attachments
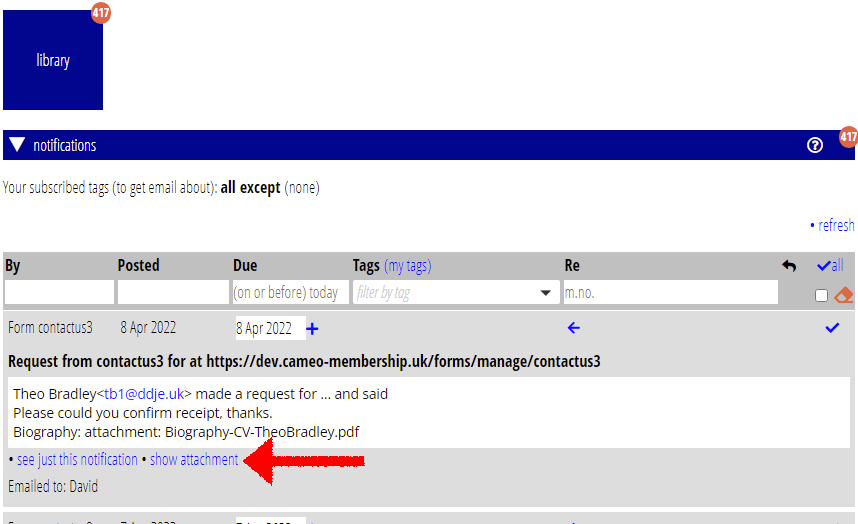
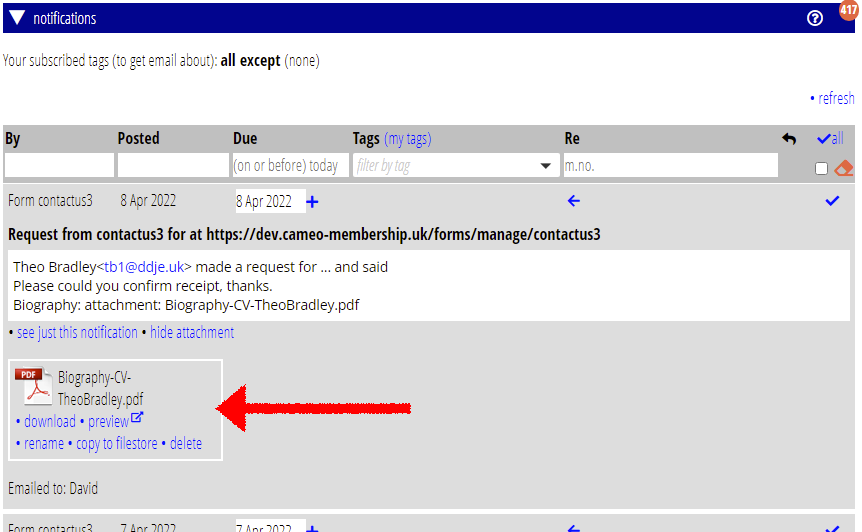
When you look at a notification which has one or more attachments, in library → notifications, for brevity you will just see a link show attachment or show 3 attachments (or however many – Fig 4). Click the link to reveal the attachments, shown as attachment cards (Fig 5), where you can view, control and delete them, just like similar attachments elsewhere.
If you are only looking at a single notification, as for example with see just this notification, the attachment(s) are displayed without the need for an extra click. That is also the case when you look at notifications linked to a specific membership, in member info → correspondence.
When you receive a notification by email (because you subscribe to its tags), the email indicates that there are attachment(s), but they are not included directly in the email. You would need to look at the notification within Cameo, as above, to view the attachments.