Particularly when first setting up Cameo, you need to manage credentials for third-party services connected to it. For example, payment providers. To protect this information, you must now give either your password or second factor code to do this.
Contents
Background
You have to authorise Cameo to communicate with your account at a third-party service, such as a payment or backup storage provider. Usually this means providing one or two long identifiers obtained from the third-party that identify and authorise access to your account. These are separate from your login name and password with them. For some providers you just copy these from somewhere in their dashboard and paste then into Cameo. For others, you are asked to log in and confirm authorisation, which permits Cameo to obtain the identifiers on your behalf (this is a mechanism called OAuth2).
These credentials are sensitive information. Someone who has access to them can access your account at that provider. Cameo goes to some lengths to keep them safe. However, administrators need to access and change them from time to time, especially on first use.
Credentials
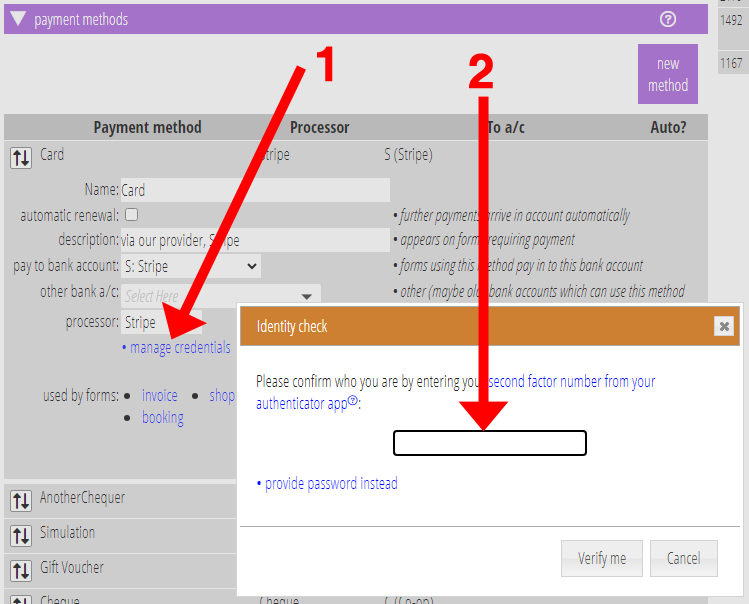
Now, when you want to access or update these credentials through Cameo, you must first confirm who you are (Fig 1: 2). This additional security measure protects the information by someone who gains access to your computer when left unattended. While unlikely, many other services do this.
Once verified, you can work with any of Cameo’s third-party credentials for 30 minutes. Each time you do so, the clock restarts. So, particularly when setting up for the first time, you won’t have to repeatedly confirm your identity.
If you don’t have two-factor authentication turned on, you need to enter your password. If you do you can enter your second factor number from your authenticator app. But you can choose to enter your password instead if you wish.
Previously, most places where you selected a provider had separate view/update and delete credentials buttons alongside. All these are now subsumed into a single manage credentials button (Fig 1: 1). It is unusual to need to delete credentials. But when you do need to, you can now find a delete button in the panel where you edit the credentials.